so my creative project the last 2 days (i said make art/be creative every day, not finish a project every day ;) has been turning this old t-shirt dress into a studio apron! inspired by watching misty mawn creating in her studio with an apron safely protecting her clothes underneath, i've always wanted to have one specifically to use in art-making... one that doesn't matter if it gets paint all over it because that's its intended use! so here's mine... and i took shots along the way to give you sort of a DIY... :)
i started with this dress, which had been cleaned out of my closet to get rid of. i love the crochet details of it, but it has just never fit right (that i can remember) so i was freeing my closet from it... but what a great way to salvage it! here's how:
step one, CUTTING: i first cut directly down the center of the back of the dress. then, i cut off the sleeves and continued the curve down and back until it was at the same height as the string that would tie around the waist. third, i trimmed a few inches off either edge, making it the right width to wrap around my hips. out of that excess, i cut two long strips for the top straps (mine were about 3 1/2" x 20").
step two, SEWING: i have told you before that i am no seamstress (and if you look close at these, it will prove it.) i left it as simple as possible... you don't get a lot of extra time when you have a two-year-old! first, i sewed the straps, turned them into long tubes, and turned right sides out. then, i made a seam along the unfinished edges. i (lucky for me :) had a tie already attached to this dress, so i just sewed it in a straight line to the edge. last, i sewed on the straps to the top, to be tied behind the neck.
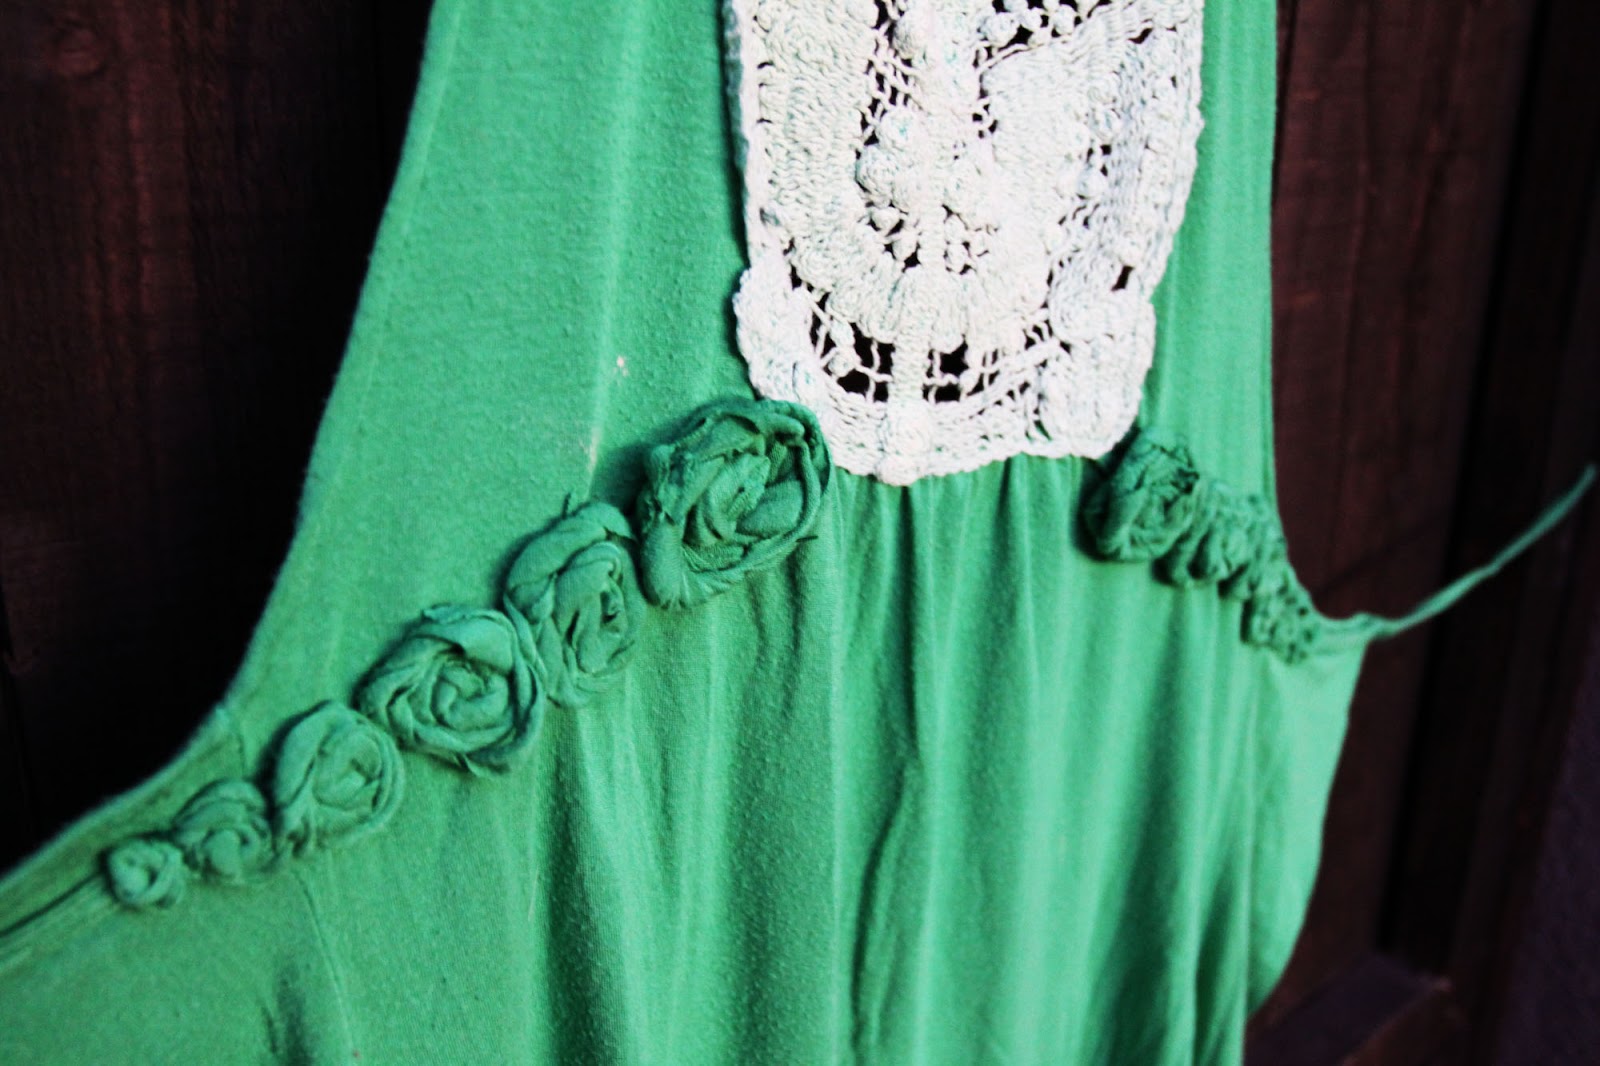
then, my favorite part: i added a row of little rosettes along the seams of the ties
as you can see, i made good use of all the scraps that got cut off in the reconstruction process :)
here's a video tutorial on how i make the rosettes - i'm sure there are lots of ways, and i think i made this one up myself, so if you have more sophisticated knowledge, please ignore my movie ;)
and, voila! a finished apron,
ready to get splattered with paint, dotted with beeswax, and otherwise stained with evidence of art-making! (
this was the best shot i could get of me wearing it, home alone, and not knowing how to use the timer function on jason's Canon 50D - sorry!